Showing posts with label Amy. Show all posts

Monday, July 07, 2014

Summer Time Banner with Amy

Hi y'all, it's Amy and today I have a taste of summer to share with you.

Few things in life make me happier than a new paper line from Bo Bunny. Gena down at The Crafty Scrapper has the power to make me smile just by sending me a teaser text that there might be new Bo Bunny afoot in the store. This line, Lemonade Stand, was no exception. The bright colors and the summertime message can't help but make you think of longer days, time with kids, and traveling.
I wanted to do a banner and I wanted the 3D effect I love so much. My solution with this Maya Road skinny banner was to use Maya Road scallops, glued together and paper covered, to connect the banner pieces and raise up the non-scalloped pages. It had the bonus effect of giving me one solid piece cause banners that get all twisted up drive me a little nutty.

Nothing is complete without a pile of flowers. Here the Prima flowers and Bo Bunny Lemonade Stand embellies make a perfect compliment.


I will admit it, I had to turn to YouTube to figure out how to make an actual pinwheel. here I double layered the pinwheel to make it stand out and used it to highlight the "Catching Some Rays" sticker I pulled from the Bo Bunny sticker sheet.


All my favorite things about summer! Swimming, ice cream, and BBQ's with the family. Again, just love how all the bright happy colors came together.

Summer, summer, and more summer! I am usually challenged with banners to have a "centerpiece" with each panel. On this one I went a little crazy and just put together all the parts I liked and let it come together as the center. Here again I worked the flowers and premade brads together and the pink flower is die cut acrylic that has been stamped and painted.


Whatever summer means to you, I hope that this paper line and banner bring a smile to your face. Check out The Crafty Scrapper for all you need to capture your summertime!

Happy scrappin' y'all!

Amy

Thursday, May 15, 2014

Boy Fun Mini Album with Amy

Hi y'all! It's Amy again with a bit of little boy fun today.  I have to admit, when I first saw Crate Paper Boys' Rule collection, I was stumped. You see my sweet Lee came into my life after the Gameboy and video game phase of his life. I remember those days with my little brother many many moons ago but that was WAY before we were in the "grab a camera and remember it" way of life that we currently exist in. Dare I age myself and say it was before Instagram?? :)

I got out the blank chipboard and cut this way and that. I first saw a 3D car, but my creative skills didn't expand that far. Tried to build a robot but nope no luck there either. As I sat and stared at this paper I knew I just had to wait for the light bulb. I finally picked up on the Gameboy shape of some extra album pages laying on my table. From there, I was off.

Before I put on the paper I painted the background paper with chalkboard paint and cut out this frame from extra chipboard. The monsters are also Crate Paper embellies.

Now I am one of those odd people that sometimes like making projects that DON'T have any pictures in it. Since I didn't have any of the boy kind that fit this paper anyway, I went the "conversation piece" route with this one. I deconstructed one of the Crate Paper embellies and put the accordion from a flower around a Maya Road bottle cap to make this totally awesome flower.


I left the back of all three of the interior pieces blank for two reasons. One, space inside the box. Two, so that pictures could be added if I gift this project to any of my friends who do have video game carrying little boys.

This project is on display down at The Crafty Scrapper!

happy scrappin'!

Friday, April 18, 2014

Vintage Love with Amy

Hi y'all! Today I have a project to show you that I adore. 

One because it has my favorite thing in it - flowers!
Second because it has two of my favorite people in the world in it - my grandparents.
 
My grandparents more or less raised me. I lived with them and my mom when I was little. During the formative years of my life where I copied my mother and called my grandma "Mom". That stuck for all three of us grandkids and now my kids call her the same. Appropriate enough since she was such a strong influence on me. PawPaw is the only father figure I have ever known. It is a rare treat to get such a great picture of them as is featured here, but Sonia knows her stuff!

I love anything Prima and this vintage frame is no exception. I used Crate Paper's Style Board line to line the inside edge of the frame and the back. From there I just let the layering begin!

I used Primas' Something Blue flower line and inked up the edges to go along with the frame. As with almost all of my projects, Maya Road pins finish off this flower grouping along with Want 2 Scrap pearl bling.

I hope you enjoy the finished product as much as I will for years to come. 
Remember, all of this goodness is available down at The Crafty Scrapper in Waxahachie.

Happy scrappin'! 
Amy

Thursday, April 03, 2014

Design Team Challenge - Amy Lanford

Good afternoon everyone!

Today for our Designer Showcase we have 
Amy Lanford in our line up!

Here is a look at her amazing canvas she made
for our Design Team Challenge

How wonderful are these colors and textures??

The toughest part of the challenge for everyone was the chipboard
circles that were included in the kit- but everyone did a GREAT job working them into their project!!

Amy layered lots of colors on her background- this piece is so amazing, be sure to check it out when you are in the store next time!

How cool is this? Amy added some of her chipboard pieces on both sides of her canvas!

Be sure to check back tomorrow for a peek at Anita Houston's project!

And remember to pick up your tickets for the Birthday Bash if you haven't done so yet!

Have you been by our Facebook Page lately?
Hop on over and give us a like to keep up with all the latest news!!

Anita

Monday, March 24, 2014

Little Monster Mini Album with Amy


Hi guys, it's Amy here today to share a peek into a fun project using Bo Bunny's Our Little Monster paper line.

I am a huge fan of all things Bo Bunny. So I was more than a little excited to get this paper in my design team box. Most of you know I came into my stepson's life when he was a little older, and sadly I don't have toddler pictures of him that would have been so appropriate here! The next best thing? The beastie's little boy that I have known since he was a premature newborn weighing in at less than 2 pounds!! These pictures capture the essence of who he is and the "little monster" theme is how we think of him. He says the cutest things, the does the cutest things, he's just a hoot.
Just a look into the beginning of the creative process...it's messy and never quite turns out the way you think it will!


Here is the cover of the Maya Road canvas and chipboard album I chose to use for this project. I used Dylusions inks to mess up the canvas as the background. The B is for Boy came from the paper line, I don't usually like fussy cutting but this worked on the cover.  You'll see in later pictures how I made used the monster in the back of the book that played into what you see at the front of the book!


This is the first page inside the album, and my favorite. I kept it simple here, a Maya Road scroll and a handmade flower - letting the picture take center stage. See the button with the paper around them? That is a Maya Road kraft paper doily, cut down to the scallop part and used to make a flower!


Sometimes when doing an album I catch myself feeling like all the pages look the same. They don't  - but that's the tricks a tired brain can play on you. When I need to shake that off I do an "inside cover". A page that doesn't have a picture but that still works with the album. The monster on the paper, along with the Maya Road "&", seemed a good fit and the bow tie I gave him just makes me smile.


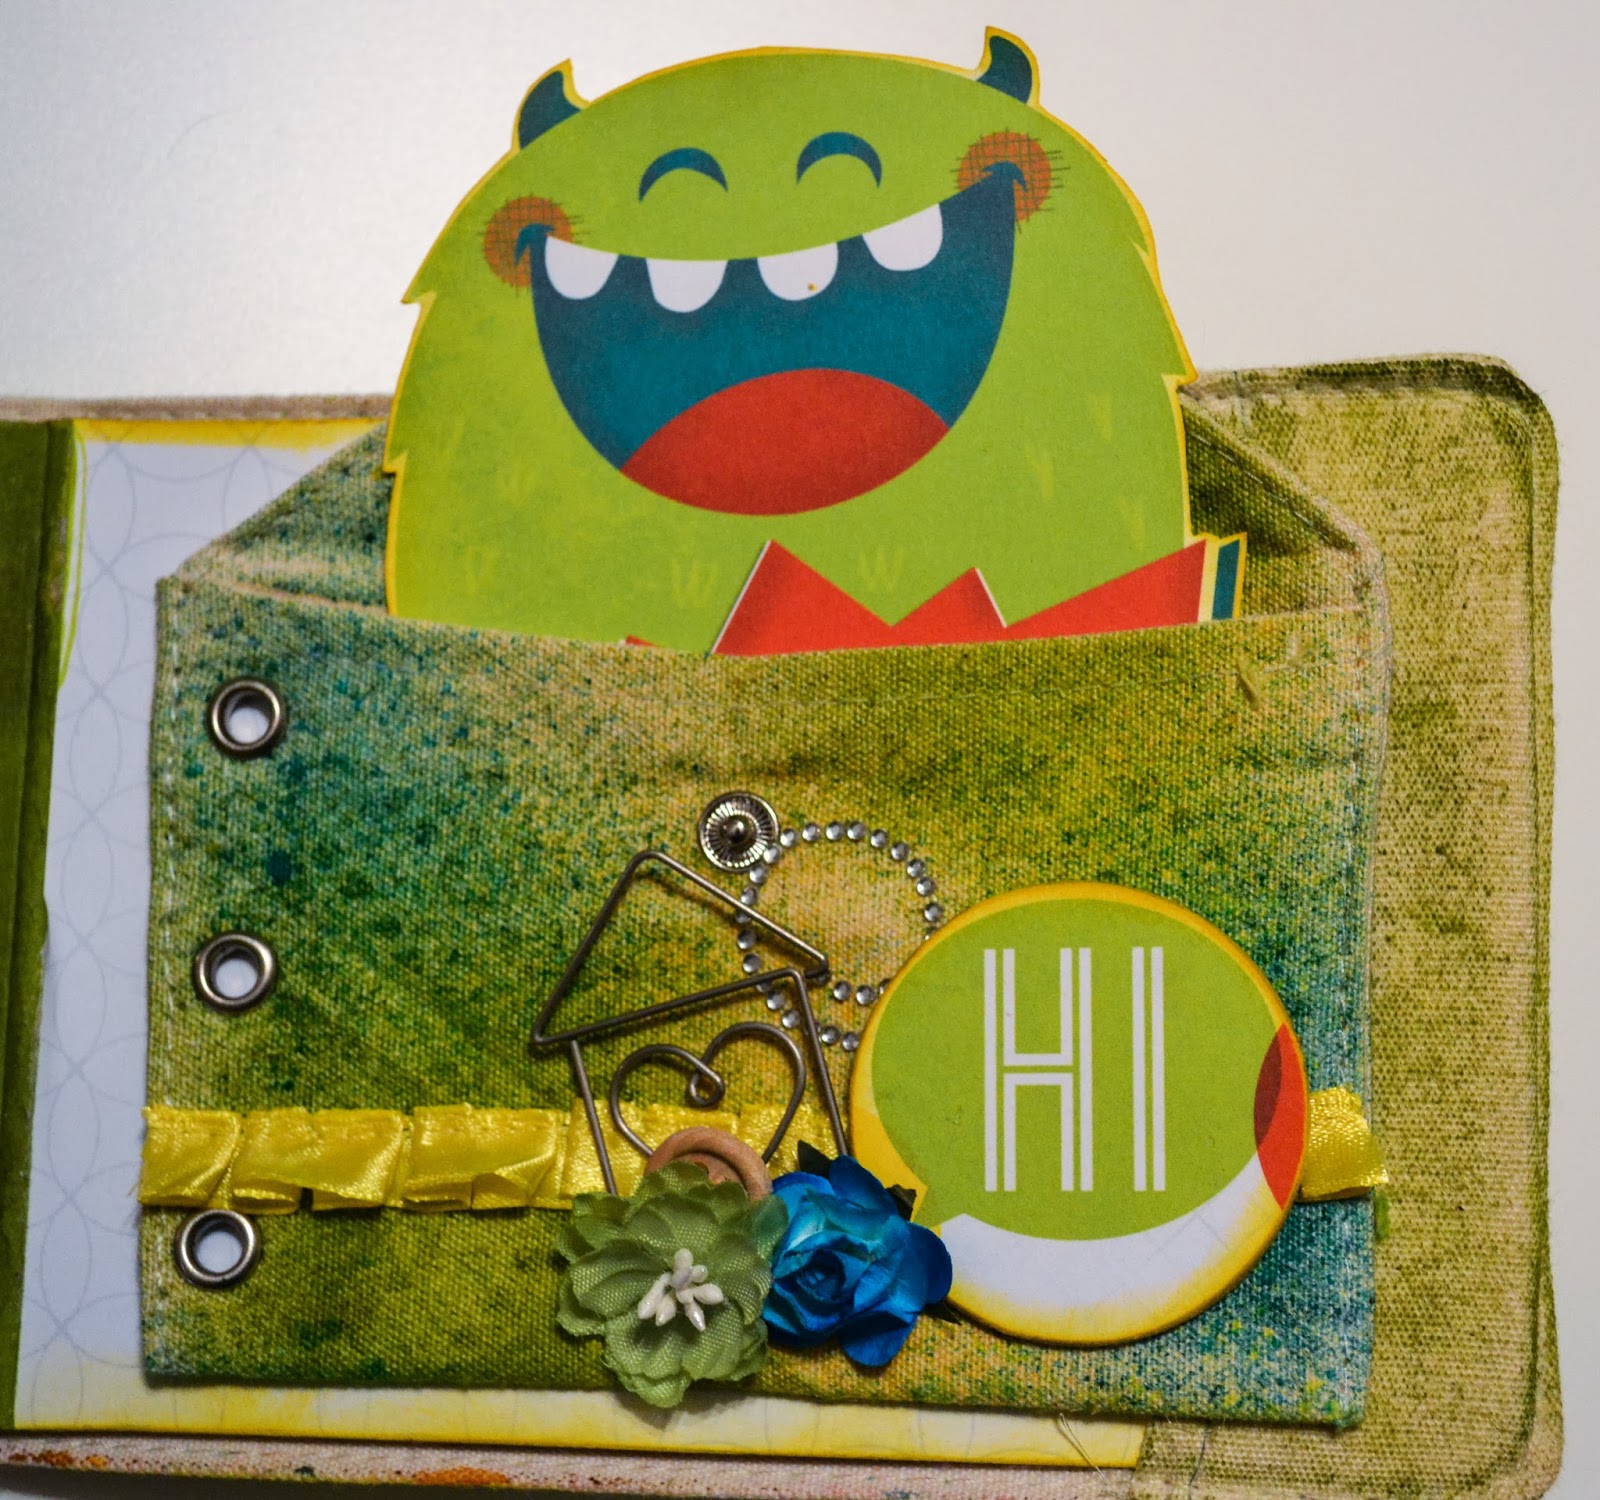
Finally to the monster!! This canvas mini album comes with two canvas pockets that can be put in the ring binder or, as I did here, used elsewhere. I put one in the front of the album with the word "keepsake" spelled out on it to give my bestie a place to put pictures. This one I glued to the back of the book and tucked the monster into him.

Hope y'all enjoy! This project is on display at The Crafty Scrapper. Stop by and take a peek.

Happy Scrappin'!

Amy

Saturday, March 08, 2014

Independence Day Banner with Amy

Hi everyone in blogland! It is Amy here today to share a project with you.

  What is more awesome than celebrating the red, white, and blue?? I was so excited to open my design team package from The Crafty Scrapper and find this American-as-apple-pie paper from Echo Park and Authentique. I love making holiday banners for my door and my one from last July 4th met with an untimely accident so this was perfect! This also reminds me to be thankful to our soldiers and look forward to those summer days that are surely going to come again!


The background  scalloped pieces are covered with Tim Holtz Distressed Stain (Brushed Pewter).


I constructed the 3D stars out of a Maya Road star key chain and Maya Road spools to give them depth. I then covered the stars with the starburst stencil and Wendy Vecchi silver embossing paste.


I love the bling on these, it makes me think of fireworks in the sky.


The rhinestone stars are also Tim Holtz and the fabulous bling is Want 2 Scrap.


My favorite piece of this banner!! I made these fireworks by stacking Maya Road spools and rolling them in strips of the different paper. I made the fuses for the fireworks out of the stems of flowers I had saved and I just painted them black and curled them around my paper piercer!

You can find all the supplies you need to make this banner at my favorite scrappin' place - The Crafty Scrapper.

Happy Scrappin'!

Amy


"Mothers Day Bouquet"
Spring is on its way and the flowers are blooming. My favorite flowers are hydrangeas,  I have added several different variety's to each of my gardens. Stop by and pick one for your "Mothers Day Bouquet" then hop on over to see my friends athttp://www.dallascraftersmarathon.com/ and collect more flowers for your bouquet.

HOW to WIN:
Beginning March 6th - 9th, simply visit each blog, become a follower of their blog or sign up for their newsletter. Read the post and look for a flower (a different flower will be mentioned at each destination). As you hop from site to site, you must collect ALL the FLOWERS! When you are done, you will send your name and a list of all the flowers in your bouquet to: 
     pickmebouquet@gmail.com
Your email becomes your entry for the  "Mothers Day Bouquet" Prize Drawing!!! Remember in order to win you must be signed up as a follower on the blog or newsletter, its as easy as 1-2-3, follow the links above.

ALL WINNERS will be announced on Tuesday 11th

Good Luck to you ALL and 

THANK YOU for supporting Small Business
 and shopping (and hopping) local!

Monday, February 24, 2014

Simply Us Mini Album with Amy

Hi blogging friends! It's  Amy here today with a mini book to share!

 When I received this paper in one of my design team kits, though the colors were bright, the collection screamed vintage project for me. This sent me rooting around for the small collection of photos I have from my childhood.
Tea cups have been collected in my family for many generations. That particular fetish missed me, but I can't see a teapot or teacup without remembering those who came before me who treasured them. When I knew I was going vintage photos with this project the Maya Road Tea Pot mini album was a sock and shoe kind of decision.


Lots of Maya Road goodness happening here. I sprayed the letters with Maya Mist and then covered them in Stickles and Crackle accents. The paper collection I used on the entire project is Authentique's Flourish collection.


The larger leaves on the flowers were made with the cutouts of the tea pot handle when I originally covered the pots. Save your scraps, it's interesting the number of times I find a use for them in a project!


I used my Vagabond to cut out the flower shapes here out of the scraps I had once I had covered the tea pots. The button was one from my great grandmother's collection which seemed fitting with this particular project.


A picture with all four generations of women is priceless, I used the arrow to direct the eye to flip the page over....

And here is the backside! I used Wendy Vecchi embossing paste and a stencil here for the clock in the background. The envelope is also made of the Authentique paper.
This project is on display as well as all the supplies you need! 
Happy Scrappin'!
Amy

Sunday, February 16, 2014

3-D Party Box from Amy

Good morning,, it's Amy here today to share a fun 3-D project with you!
 
This project celebrates my daughter's birth-day! I am so blessed to have given birth to such a beautiful, mischievous, smart, and funny creature!  I can't possibly tell her often enough how much she makes me smile and how proud I am of her. She turned 12 in December and I still can't believe how quickly the years are flying by. I know I am going to blink and she'll be going away to college and projects like this - where I dig out the collection of growing up pictures - gave me the moment I needed to slow down and remember all the ways I love her so.
I had a lot of fun with this Authentique Wishes Collection paper. I knew I wanted to do something out of the ordinary and when I saw Maya Roads banner album hanging on the shelf at The Crafty Scrapper all I saw was a party hat! And of course my "how can I make it 3D" brain then kicked in shortly after. The result? See for yourself!


I cut blank chipboard the width of the banner pieces and adhered together with masking tape with a small gap between the pieces to allow it to bend. I did this twice, gluing together the two squares once covered and inked to create the "box". I chose to only layer up one of the four out facing sides to make it clear where the front was when you untied the top to take a peek inside....


This is the center of the open box - and of course my favorite picture of my all grown up girl! I cut out one of the sayings on the Wishes paper and adhered to chipboard for a raised effect. I also trimmed it in Maya Road zipper trim. Featured on this page is Prima pearls and flowers, Paper Blooms from Kaisercraft, and Tim Holtz metal.


I covered a Maya Road paper doily in Tim Holtz Distress Glitter (Broken China Blue), and layered up more of the stickers from the Wishes collection.


Maya Road numbers and Prima pearls take center stage here with the birth date. It was a Happy Day!


More Tim Holtz metal and Paper Blooms by Kaisercraft along with a Maya Road mini ruler.


This project is on display at The Crafty Scrapper!
Happy Scrappin'! :)

Saturday, February 08, 2014

Head Over Heels Layout with Amy


Y'all that know me know that I will tell everyone I am head over heels for my family. Everything I do I do for them. Give me a Head Over Heels themed paper from my favorite paper Bo Bunny and you have a happy girl! As soon as I saw this paper and the assignment to do a layout I knew exactly which picture I would use. This picture of my two youngest kids that Sonia took in November makes me smile every time I see it. And since it's on my desktop at work and framed at the house and just about everywhere else I could think to put it...it makes me smile a lot. :)


It's hard for me to not cover the WHOLE paper when doing layouts. But in this case I wanted the picture to be the first thing that caught your eye and all the decoration around it to bring home the L-O-V-E theme.


I used red and pink Maya Road zipper trim to make the background flower. I like to use the embellies that come with a paper line as flower centers and that's what I did here with the heart.  Prima pearls and flowers serve as the compliment to it.


The Maya Road letters and scrolls are covered in white paint and diamond stickles to make them shimmer.

This project is on display down at The Crafty Scrapper.
Thanks for stopping by today!
Amy

Sunday, January 26, 2014

Sewn With Love layout by Amy

Hi everyone, today we have a project from Amy to share!
 

When I was given this Bo Bunny Pincushion line for The Crafty Scrapper Design Team I wasn't sure at first what to do with it!  My grandma has always been a seamstress, I have done my share of sewing in my lifetime as well but....the women in my family hate(!) being in front of the camera. Alas, not any vintage photos of my grandma in the sewing room that I can see so clearly in my childhood memories. 

But I still felt like this paper needed to pay tribute to my grandma so I set it aside to "percolate" in my brain. I am one of those individuals that will stew on something in the background of my brain and wake up at 2 am knowing what direction I want to go. It didn't take long! Since we had just done family photos in November with the fabulous Sonia Doneghue, I had the perfect photo to incorporate in this layout that paid tribute to my grandma and shows off my beautiful family. And a rare treat of three camera shy women in the photo! 


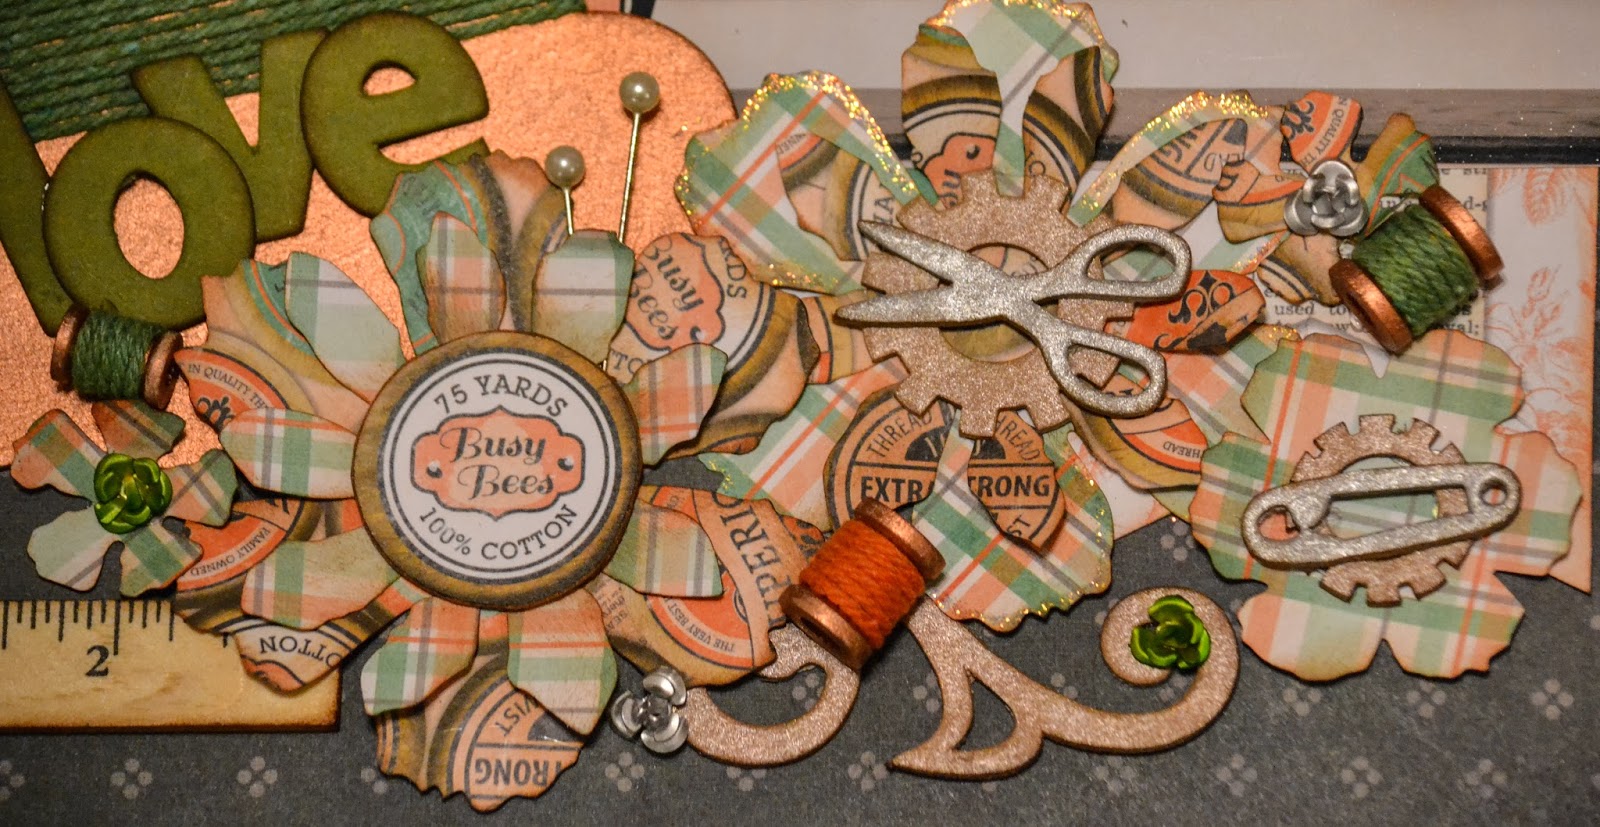
 I finally got to play with my Vagabond for the very first time on this project when I wanted flowers that were a little different and showed off some of the other pages of the Pincushion paper. Also here are Maya Road mini spools, twine, vintage trinket flowers, mini ruler, and sewing chipboard pieces. I used Tim Holtz Distress Stains in Brushed Pewter (scissors and safety pin), Peeled Paint (letters), Black Soot (sewing machine), and Antique Bronze (scrolls and gears). The big spool is covered in VerDay Copper Paint.


Here a close up of my favorite part of any project - the layering! Sometimes I have to remind myself to stop so it will fit in the book I need to put it in!


Families are sewn together - with hugs, laughter, tears, and most of all love. Enjoy!

This project is on display at The Crafty Scrapper, you can 
see all the details and get a list of supplies used on the layout when you stop in!

Thanks so much for stopping by today!
Amy

Monday, January 13, 2014

Winter Banner with Amy

Hi everyone! 
Today we have a wonderful project from Amy to share.
She has used the fabulous Bo Bunny Woodland Winter collection
to create this great banner. Here is what she has to say about it;

I awoke on Christmas Eve early (too early), it was way too cold in the house! The whole house was sleeping so I wandered into my scrap room - a rare treat in the holiday season! I started and completed this in one day - Christmas Eve no less - in the middle of a ton of other traditions and obligations that we already had scheduled. It is hanging on my front door now and it brings a smile to my face every time I come home.
 
The base of this album is 7 gypsies. It's a clear banner album that I covered the back, then layered on pieces of chipboard and the different snowflakes. All the snowflakes are from a Maya Road chipboard keychain.

One of the things I like to do with chipboard is to spray it one color and while it's still wet rub it in a puddle of another color then ink the edges. That's how I got the cool effect on the letters here.

This snowflake is perhaps my favorite, I layered the inked snowflake with Wendy Vecchi silver embossing paste and then put the frame of one of the other snowflakes over it.

 
Here's the full project. :)
 Enjoy and bundle up! It's cold outside!

Thanks for stopping by today!
We will have lots of sneak peeks from CHA on our Facebook page 
so be sure to Like us!

The Crafty Scrapper Crew